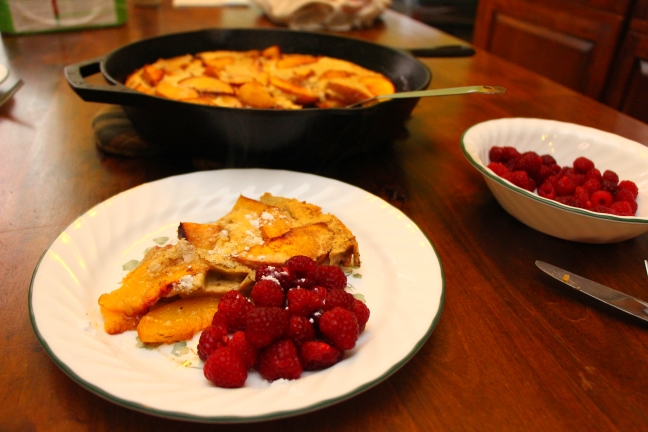
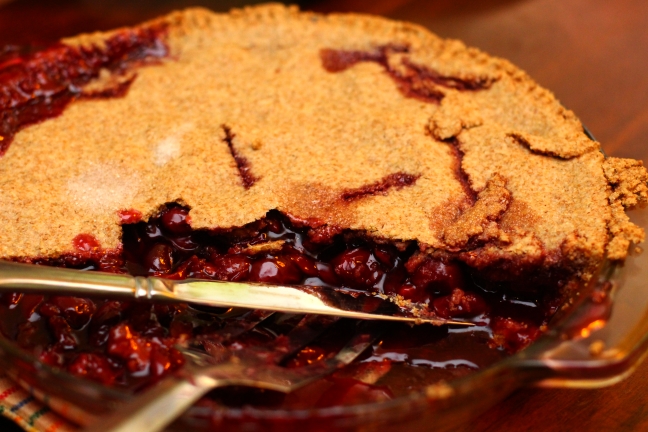
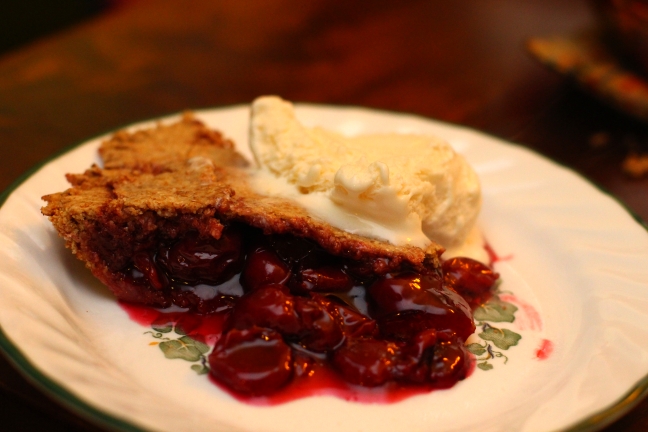
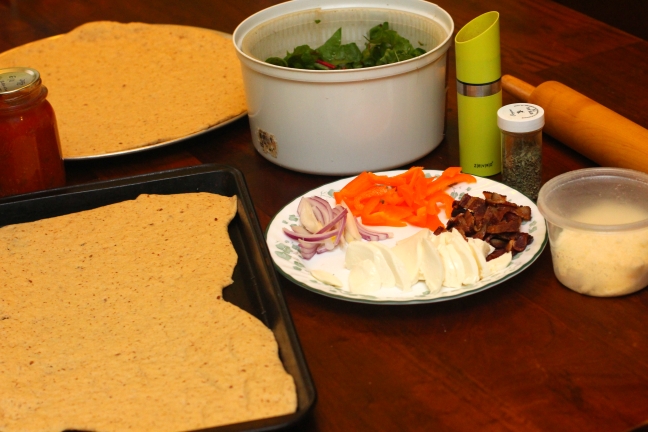
The first Friday of the month is reserved for recipes. You can see additional First Friday Food posts here.
The Reason:
I’m not sure I had a single post on the garden this year. However, we recently tore out all the tomato plants to start getting ready for winter, which left us with lots and lots of green tomatoes. And, quite frankly, what’s not improved with a little breading and frying? 
The Journey:
The plants were still green and flowering when we pulled them out, but we have already dealt with our fair share of tomatoes. We processed and canned over 100 lbs. this year! Mostly salsa and marinara, and a few other things. There are only so many things you can do with green tomatoes. We pickled some, made chutney with some, but you only need so many jars of pickled green tomatoes (possibly 0 jars; we’ll see when they’re ready!) I’m not from the south, and this wasn’t something we ate growing up. When Sara lived in North Carolina, I remember ordering them at a restaurant somewhere. Sort of a “when in Rome” kind of thing. They were *amazing*, and all these years later, I’m still chasing that dragon. I’ve never had any since that were quite as good. 
The Verdict:
Well *I* think they are delicious. The kids don’t care for them at all, and Sara likes to have a few as an appetizer here and again, which left lots and lots of helpings for me (like, all I could eat plus another 2 lunches or so). There are lots of recipes online for fried green tomatoes, but the key to me was the cornmeal. That’s what really gives them that flavor I was looking for. Sara likes to make up her own sauces, but a little spicy & sweet mustard is my favorite. 
The Recipe:
Recipe adapted from AllRecipes:
- 4 large green tomatoes
- 2 eggs
- 1/2 cup milk
- 1 cup whole-wheat flour
- 1/2 cup cornmeal
- 1/2 cup whole-wheat bread crumbs
- 2 teaspoons coarse kosher salt
- 1/4 teaspoon ground black pepper
- Extra virgin olive oil for frying
- Slice tomatoes 1/2 inch thick. Discard the ends.
- Whisk eggs and milk together in a medium-size bowl. Scoop flour onto a plate. Mix cornmeal, bread crumbs and salt and pepper on another plate. Dip tomatoes into flour to coat. Then dip the tomatoes into milk and egg mixture. Dredge in breadcrumbs to completely coat.
- In a large skillet, pour oil (enough so that there is 1/2 inch of oil in the pan) and heat over a medium heat. Place tomatoes into the frying pan in batches of 4 or 5, depending on the size of your skillet. Do not crowd the tomatoes, they should not touch each other. When the tomatoes are browned, flip and fry them on the other side. Drain them on paper towels.


 Beth Cato’s the author of THE CLOCKWORK DAGGER, a steampunk fantasy novel from Harper Voyager. Her short fiction is in InterGalactic Medicine Show, Beneath Ceaseless Skies, and Daily Science Fiction. She’s a Hanford, California native transplanted to the Arizona desert, where she lives with her husband, son, and requisite cat.