I have an iPhone 5s. Also, I am cheap (the two things may be related).
When I get something, I like to use it until it is used up, and then use it a little more beyond that. I took my last car to 197,000 miles and was disappointed I didn’t make it to 200,000. I wouldn’t even had this 5s in the first place if I would have realized that my old 4s would have been fine after it dried out (my mugger threw it in a puddle where it was recovered by the police). I still HAVE that iPhone 4s come to think of it.
So needless to say, when my battery got to the point where it couldn’t hold a charge for an entire day, and I started spending a significant amount of my life anxiously looking for an open outlet, I didn’t go buy some fancy new phone.
Apple had been offering a special deal on battery replacement, but of course my phone was too old to qualify. $80 for a battery replacement? Not on this old phone! But, it turns out, you can get non-OEM batteries for only $20 if you’re willing to do the repair yourself. “I’m pretty handy,” I thought to myself, “especially when it comes to electrical stuff. How hard can it be?”
Let’s just say I’m glad I didn’t look at the instructions before I bought it, because I probably would have balked.
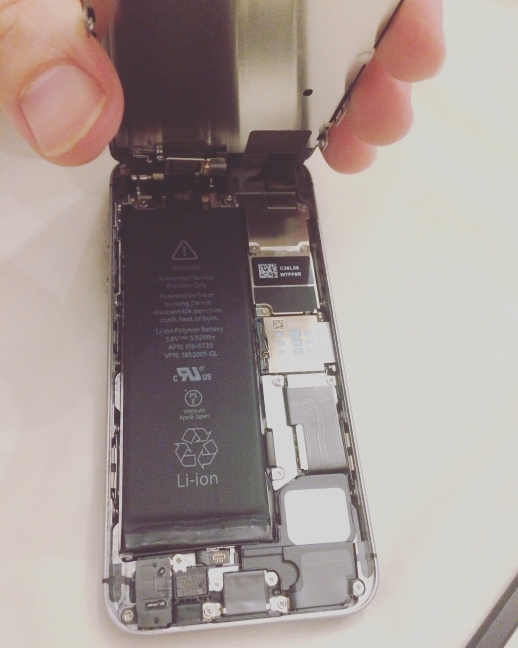
Everything is tiny and delicate. A lot of the instructions are of the, “Pry this open with a crowbar BUT DO IT GENTLY OR YOU WILL RIP APART ALL THE CABLES AND YOUR PHONE WILL NEVER WORK AGAIN” variety.

You really get an appreciation for how finely these things are engineered when you are working in there. There is absolutely no room to spare; everything is super tiny and just so. Each screw is subtly different and if you put them in the wrong place you will destroy your phone.
Obvs you need a super high tech sorting device to keep track of everything, and I did:
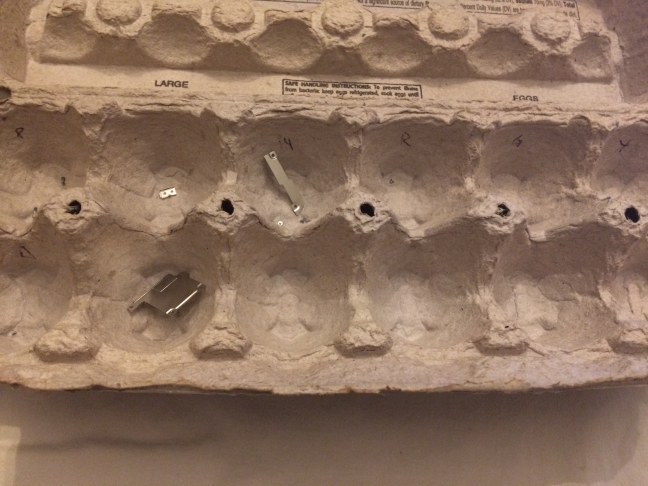
Did I mention those screws are tiny?

But, by going as slowly and carefully as I possibly could, I did finally get that battery out! The adhesive on the battery is the hardest part, but I knew that going in, so I was not deterred.
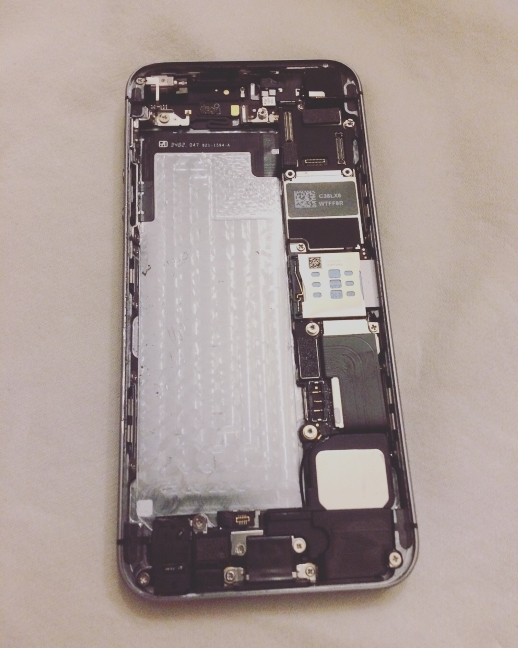
So everything was going great up to this point! Got the battery in, got all those tiny screws back in, and then I thought, “You know, I should probably fire this puppy up before I finish putting it back together.
Uh oh.
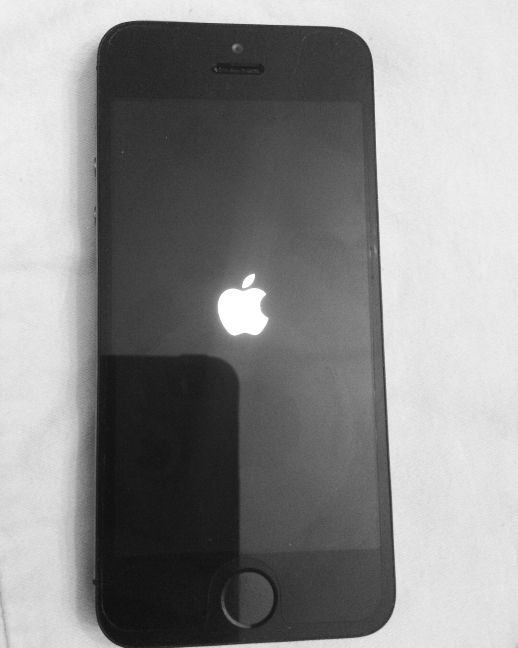
The display had lines through it and I couldn’t get the touch screen working at all. I was SURE I had screwed something up (possibly literally). Luckily the instructions had mentioned something about lines in the display and that it had something to do with one of the connectors not being tight. Sure enough, I had a loose one. It’s pretty hard working on those tiny little connectors, but after a few tries I got it seated properly.
Voila! After only 1:45 I had a fully functioning phone again.
In retrospect, even though there were some nerve wracking moments, it was kind of fun. It’s been a while since I had a project like that. So I would say, if you enjoy that kind of thing, go ahead and go for it; if not, it’s probably worth the money to have someone else do it for you.
And, hey, I have the tools now…
