Applesauce, 2015 – Part 2

2015_09_20_2330

2015_09_20_2333

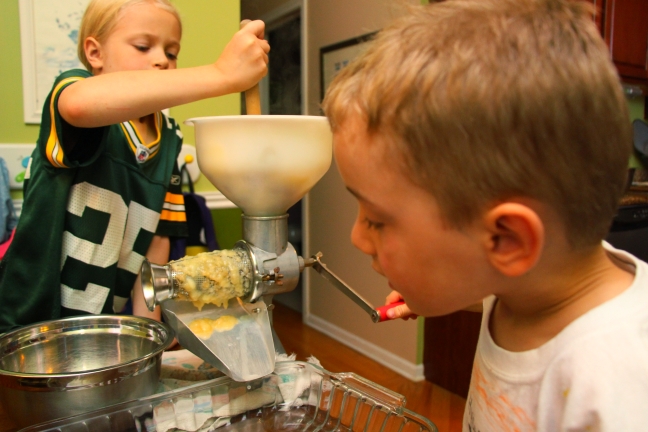
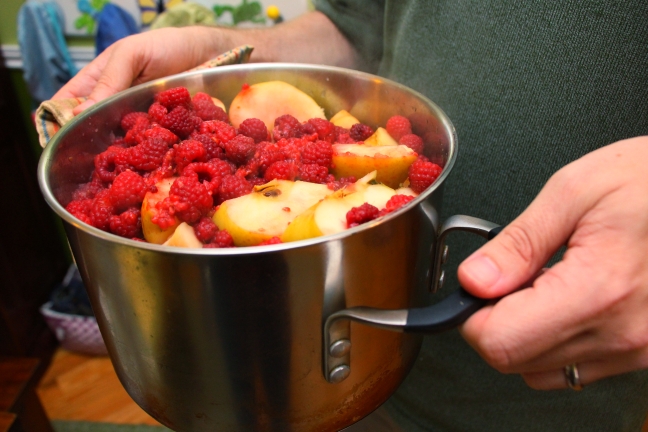
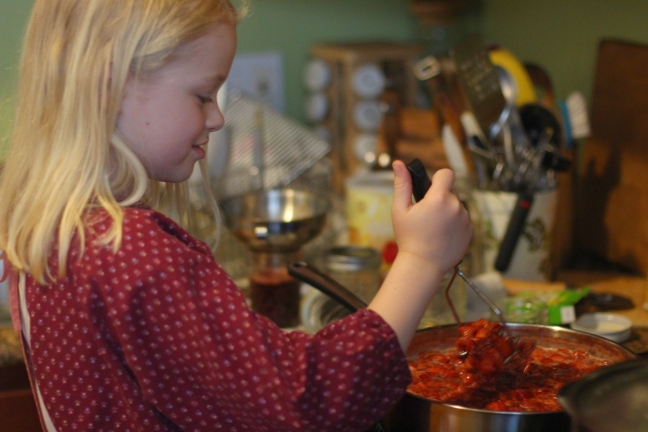
This year we decided to make raspberry applesauce, just for a change of pace. It turned out surprisingly well!

2015_09_20_2341

(Even Nala was helping)

2015_09_20_2354

2015_09_20_2358

2015_09_20_2361

Applesauce, 2015 – Part 1

IMG_6066

IMG_6061

IMG_6084

IMG_6063

IMG_6095

IMG_6071

IMG_6103

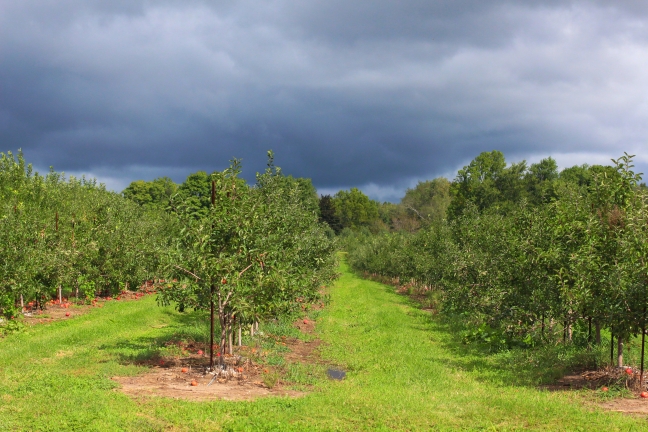
And we even made it out before the storm rolled in…

IMG_6111

Balsamic Strawberry Jam

The first Friday of the month is reserved for recipes. You can see additional First Friday Food posts here.

The Reason:

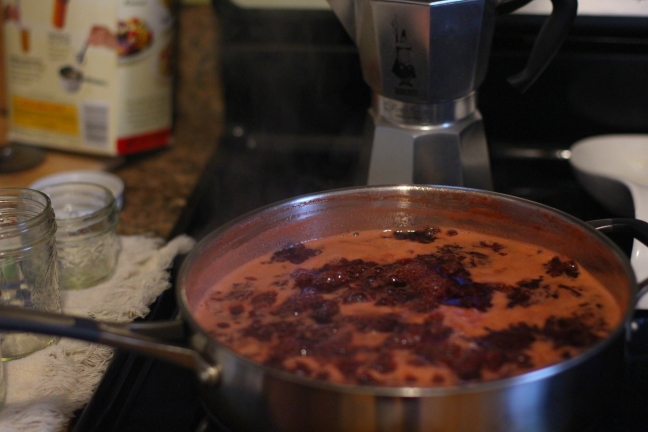
We make a lot of jam. I mean a LOOOOT of jam. Our pantry is stocked with apocalypse-preparation levels of jams, marmalades, curds, chutneys, and compotes. We have an average of about 5 open variety of jams in our fridge at any given time. Short of Frank Smuckers, there are not many people who have more jam on hand than us.

And none of those jams, none of them, are better than balsamic strawberry jam.

2015_06_14_1885

The Journey:

It all starts with the fresh strawberries, of course.

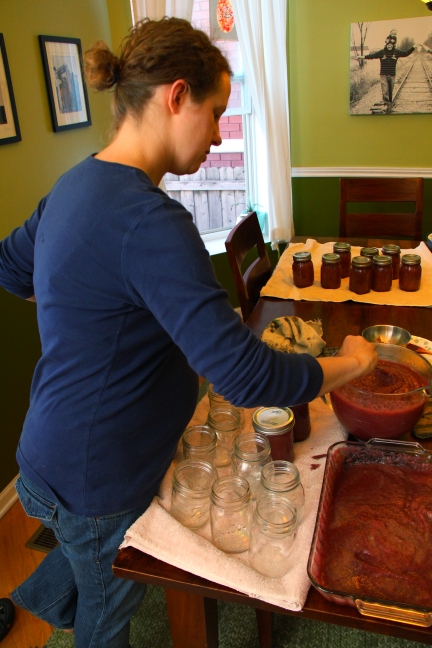
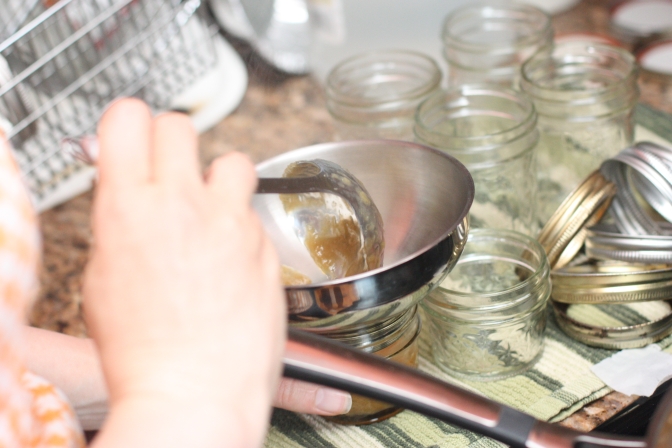
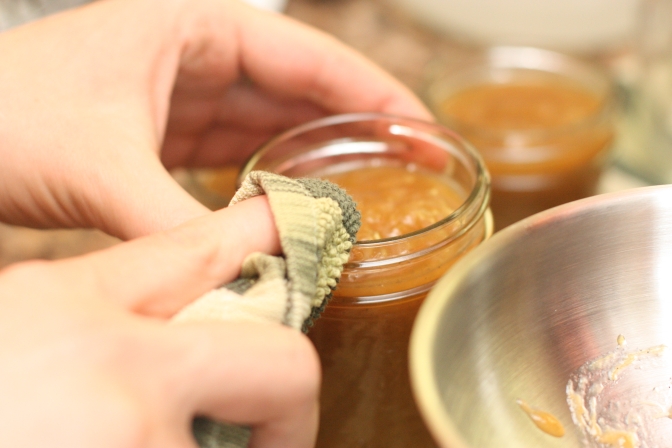
Although Sara does most of the canning, it is something of an “all hands on deck” situation. The kids do seem to honestly enjoy the fact that they get to help make the food (although, it’s possible they are just humoring me). Especially something as delicious as jam.

2015_06_14_1881

Now, I know what you’re thinking: balsamic vinegar in jam? That sounds absolutely disgusting. Why would I want to pollute something as simple and delicious as strawberries and sugar with balsamic vinegar?

I DON’T KNOW.

But you do. Oh, how you do. I’m afraid you’re just going to have to take my word on it. I’m something of an expert, you know.

2015_06_14_1880

The Verdict:

Did I mention that there is no better jam? There is no better jam.

Use it on whatever you use jam on, but also try it drizzled on some vanilla ice cream. Heavenly.

Naturally, no recipe is complete without the secret ingredient: one photobomb.

2015_06_14_1887

The Recipe:

Recipe adapted from Farmish Momma:

  • 8 cups chopped strawberries
  • 3 cups turbinado sugar (white sugar would work too)
  • 5 tbsp balsamic vinegar
  1. Put the strawberries, sugar and balsamic vinegar into a pot and cook on medium high.
  2. Mash the berries a little to get the juice out. Once it is boiling, lower to medium and let cook for about 25-30 minutes until it passes the freezing plate test (drop a little bit on a plate you had in the freezer and if it does not drip and gels up you are done).
  3. Process in whichever way you use to can preserves (might I recommend this excellent canning tutorial). Makes about 5 half-pints.

Weekend in Pictures

blowing out the candles

jenga concentration

its going to fal

Ollie plays a pretty intense game of Jenga

tomatoes

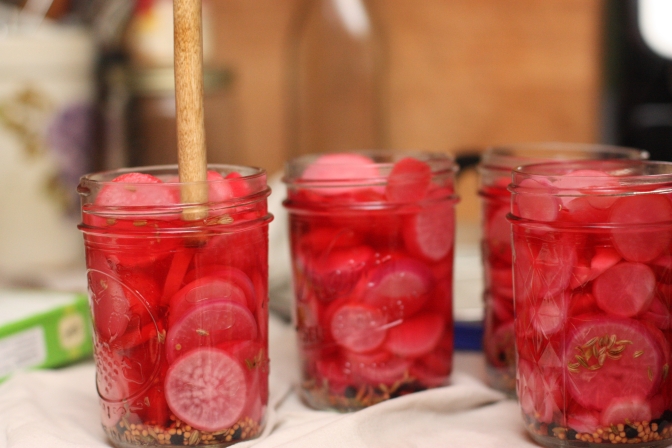
(This is what was left AFTER we canned the salsa!)

sunflower boy

missing front teethI guess we know what she’s going to ask for for Christmas…


A Canning Tutorial, for Humans or Zombies

This post originally appeared on the Zombie Preparedness Initiative website.

As a follow-up to my previous post, here are some more detailed instructions on water-bath canning.

First off, most of these steps are generic for any type of canning, but there may be slight variations depending on what you are canning. Always follow the specific instructions over the general guidelines below. If, in fact, the zombie apocalypse has already taken place and you are a zombie looking for directions on how to can brains, no recipes exist as far as I know, and you’re going to have to wing it.

Overall, the general idea is to sterilize the food and containers and then seal them, preventing contamination and allowing the food to be “shelf stable” without requiring refrigeration. We’re talking about bacterial contamination here; it is unlikely that a hot water bath would sufficiently destroy any lurking zombie virus pathogens.

Equipment

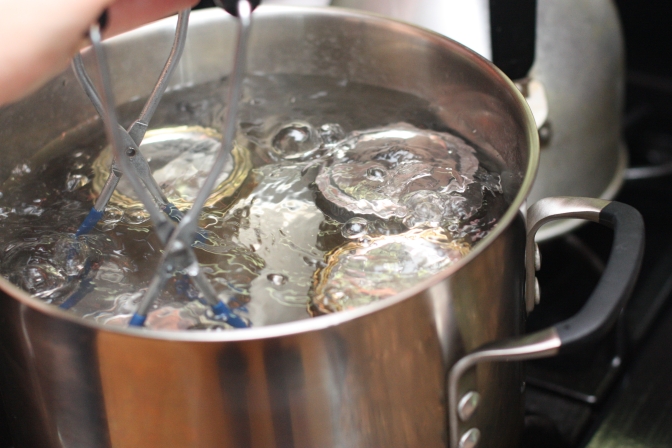
Propper jars, lids, and rings are necessary. Other equipment, such as a canning pot, funnel, and jar-lifter are not strictly necessary, but are cheap and easy enough to come by, that they are worth the time and effort they will save you. Rings and jars can be re-used, but lids must be new every time to ensure a good seal. Jars should be checked each time for chips or imperfections in the rim, which will prevent the jar from sealing.

Any pot will do for the canning, but it must be able to cover the jars with at least 1 inch of water. The bigger the pot, the more volume you can process at a time. Processing the jars can be the longest part, so processing more at a time can greatly reduce your overall time. Our standard canner can fit 7 quarts, and comes with a wire rack for holding and lowering the jars into the water. For items that don’t need such big jars, such as jams in half-pint jars, we just use a regular, large pot.

In the case of canning under threat of zombie attack, you will also need an assistant wielding the standard zombie fighting equipment, such as shotguns, chainsaws and kick-ass fighting music.

Steps

  1. Fill the canning pot with water and bring it to a boil. Sterilize the jars and rings in the canning pot. Heat the lids on low in a separate, smaller pot of hot water. This will help soften the plastic part of the lid, for better sealing.2013_05_19_9999 (2)
  2. Prepare the item to be canned as per the recipe (i.e. make the jam, prepare the brine for the brains, pickles, etc.). Note that some items may need to be prepared ahead of time, so it is very important to read the recipe first! In the case of brains, some of us have begun pickling ours years in advance. You’re welcome.
  3. Remove the sterilized jars from the hot water bath and place on a towel. Fill the jars with the item to be canned. The recipe will specify how much empty space to leave at the top of the jar, called “headspace”. This is important! Headspace varies depending on what is being canned. Too much headspace and the jar will not seal; too little headspace and the item may expand out of the jar, also causing the jar not to seal. If you are canning brains, “headspace” should be considered a pun, but you’ve probably lost the ability to appreciate humor.
    2013_05_19_9999_2 (2)
  4. If applicable, use a tool or any other flat object such as a butter knife or handy rib bone to release the air bubbles. The recipe will specify whether this step is necessary or not. It is not necessary with thick liquids like jam, but it is usually necessary for things that can easily trap air, like brains or pickles.
    2013_05_20_9999_2
  5. Wipe the rim of the jar with a towel. This seems trivial, but it is important! Any chips or drips will prevent the jar from sealing. If you are a zombie, try to keep your drooling and dripping away from the rim of the jar.
    2013_05_19_9999_5 (2)
  6. Get the lids out of the hot water and place them on the jars. We have a tool for this that is basically a magnet on a stick, but any kind of tongs will do to pick up the lids. Zombies may simply reach into the boiling water directly.
  7. Finger-tighten the rings over the lids. Do not tighten the rings as tight as you can. The goal is to allow air to escape when the jars are processing, without allowing water to enter the jars.
  8. Add the jars to the boiling water bath, making sure they are covered by at least 1 inch of water. If you are not a member of the undead, it is very useful to have a jar lifter for this part.
    2013_05_19_9999_7
  9. “Process” the jars by letting them sit in the hot water bath for as long as the recipe calls for. Processing time varies widely by recipe, and can be anywhere from 5 minutes to 35 minutes. Processing serves two purposes: the first is to heat everything enough to kill any bacteria, the second is to allow the contents to expand and force air out of the jar. This is mostly hands-off time, so non-zombie canners may lend a hand to defensive forces attempting to fend off undead hordes attempting to breach your canning location.
  10. Turn off the heat and let the pot sit for a few minutes with the lid off. Remove the jars from the hot water bath and place them on a towel to cool. As the contents of the jar cool, they contract, pulling the lid down firmly and making a seal. Sometimes a jar will seal as soon as it is removed from the bath, but it can take up to an hour. When a jar seals, it makes a surprisingly satisfying “snap!”
  11. In the event that your ears have decomposed, do not worry! After an hour or so, try pressing down the center of the lid. If it depresses, the jar did not seal. At that point, you can check the rim for imperfections, re-wipe the rim, and then try to re-process the jar. This often works to seal jars that didn’t seal the first time, so it is definitely worth a try. Any jars that won’t seal should be refrigerated immediately. This is not always a bad thing, because you probably want to try a jar right away anyway.
  12. Allow the jars to sit until they are fully cool. The recommendation is usually something like 12 hours, but in my experience a couple of hours is sufficient. Some items, like pickles, may need to sit for a certain length of time before they are ready. This information will be specified in the recipe. Zombies, try to remember to open the jar before eating the contents.

That’s it! Before you know it, your pantry will be stocked with long-lasting fruits and vegetables (or brains and other assorted body parts) that require virtually no upkeep, and will keep the occupants of any post-apocalypse bunker well fed and happy, human or otherwise.